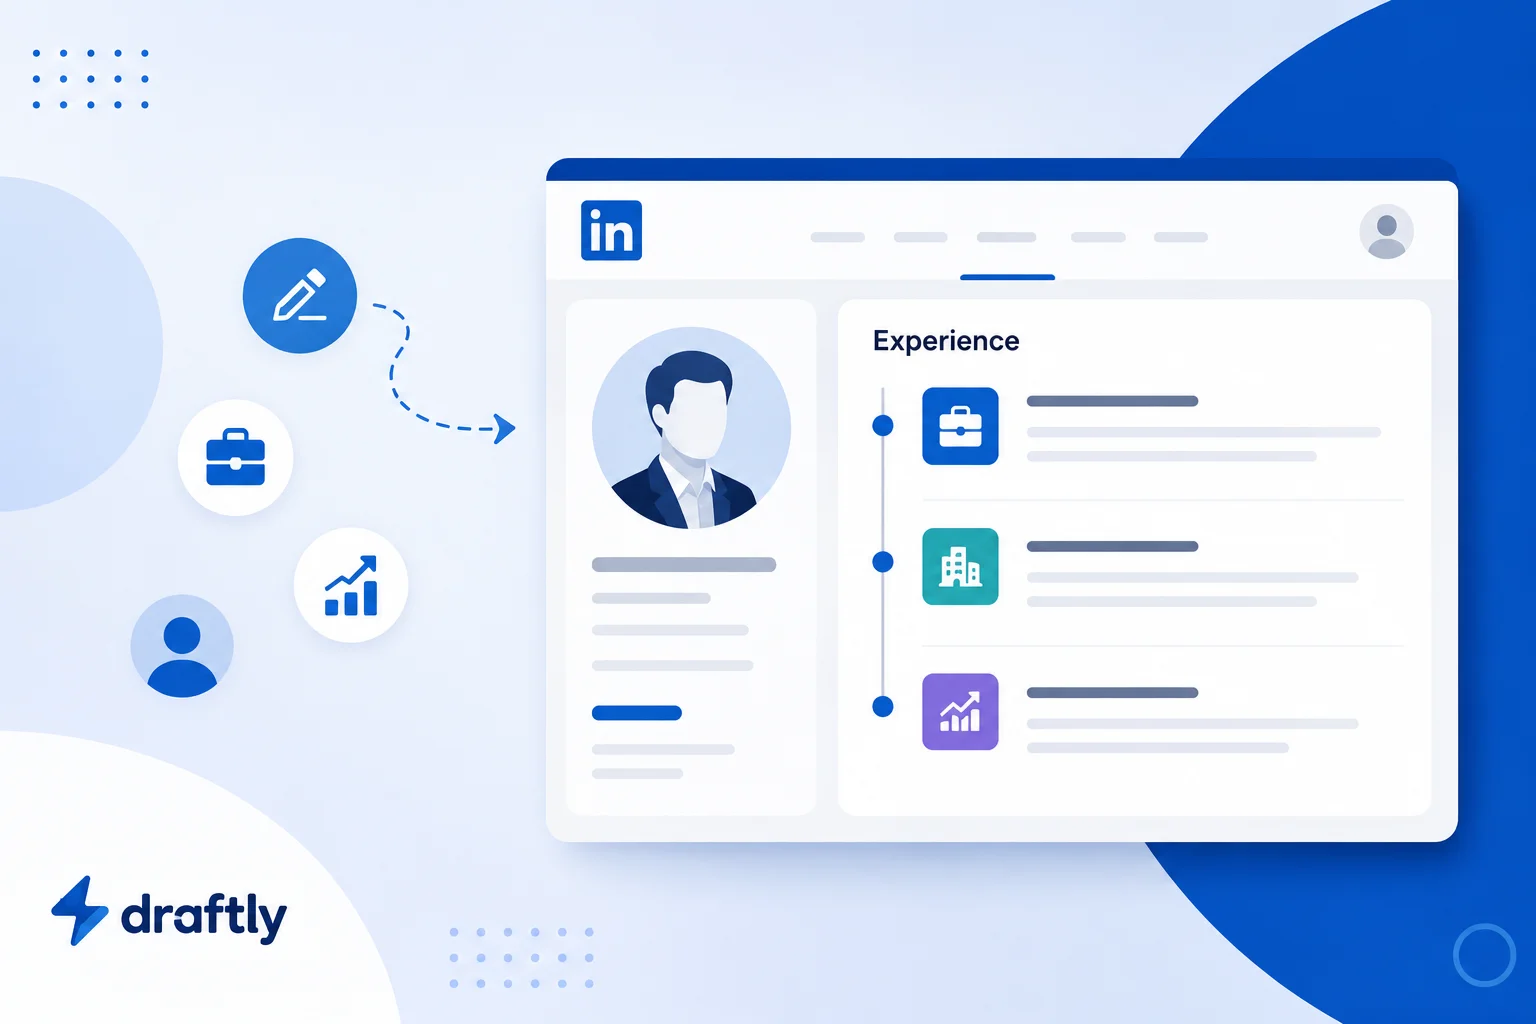
Recruiters spend seconds, not minutes, on your profile, and your Experience section is usually where they decide whether to keep reading. It's not just a job history. It's proof of what your headline and About section promise.
Most people treat it like a resume dump: job titles, dates, one vague line about "responsibilities." That's a missed opportunity. Done well, this section works like a search engine listing for you. The right keywords and results here are what get you found by recruiters, clients, and collaborators, and they're what convince someone to actually message you once they land on your profile.
Here's how to build an Experience section that earns attention instead of getting skimmed past.
Why Your LinkedIn Experience Section Matters
LinkedIn's search algorithm weighs the content in this section heavily when matching profiles to recruiter searches. A generic listing of duties doesn't just read as boring, it makes you harder to find in search, because there's nothing specific for the algorithm to match against. As part of your broader LinkedIn profile optimization, this section carries more weight than almost any other, because it's where LinkedIn (and the human reading your profile) looks for evidence, not just claims.
There's also a trust angle most people miss. A headline can say anything. An About section can be aspirational. But an Experience section with specific numbers, named projects, and consistent details is much harder to fake, which is exactly why recruiters weight it so heavily when deciding who to reach out to.
Takeaway: treat every entry as a small pitch, not a formality.
What Goes Into Each Experience Entry
Before writing anything, know what LinkedIn actually asks for. Each position has required and optional fields, and most people skip the optional ones, which is exactly where you can stand out.
Required fields:
- Job title. Use the title that best matches how people in your industry actually search, even if your internal title was something unusual. If your official title was "Growth Ninja," consider whether "Growth Marketing Manager" would surface you in more of the searches recruiters actually run.
- Company name. Type it exactly as it appears on the company's official LinkedIn Page so the autocomplete suggestion appears.
- Employment dates, or "I am currently working in this role" for your active position.
- Location. This gives context and can matter for remote or region-specific searches.
Optional fields worth filling in:
- Employment type (full-time, freelance, contract, internship). This helps set expectations, especially for freelancers and contractors whose profiles might otherwise look inconsistent.
- Location type (on-site, hybrid, remote). Worth including if remote experience is relevant to the roles you want next.
- Description (2 to 4 sentences plus bullet points). This is the highest-leverage field on the entire entry.
- Skills tied to the role, which feed directly into your profile's Skills section and its search visibility.
- Media (decks, articles, project links) attached directly to the entry.
One easy win almost everyone skips: link each employer to its official LinkedIn company page when you type the company name. Only linked companies show their logo next to your entry, and a row of recognizable logos does more for credibility at a glance than any line of text could.
How to Add or Edit a Position
On desktop:
- Go to your profile and click Add profile section, then Core, then Add position (or click the pencil icon on an existing Experience entry to edit it).
- Fill in title, company, dates, and location.
- Add your description, skills, and any media.
- Click Save.
On mobile:
- Tap your profile photo, then View Profile.
- Scroll to Experience, tap the + or the pencil icon.
- Fill in the same fields, then tap Save.
If you're updating an entry after a promotion rather than adding a brand-new role, the process is slightly different since you're usually adding a position under an existing company rather than creating a new entry from scratch. It's worth checking how to add a promotion on LinkedIn if that's your situation, since it covers the same-company-versus-new-company decision in more depth.
Takeaway: the mechanics take two minutes. The writing is where the real work happens.
5 Tips to Write a Standout Experience Description
1. Lead with results, not duties
"Managed a marketing team" tells people what you were assigned. "Led a team of 5 to increase lead conversions by 40% in 6 months" proves what happened because you were there. Recruiters look for scope and outcomes, not job-description language, because duties are interchangeable across candidates while results are not.
This holds across industries, not just marketing and sales. A teacher might write "Redesigned the 9th-grade curriculum, raising average test scores by 15% over one semester" instead of "Responsible for lesson planning." An engineer might write "Rebuilt the checkout flow, cutting page load time by 1.2 seconds and reducing cart abandonment by 9%" instead of "Worked on front-end features."
2. Use a fill-in-the-blank formula
If you're stuck, use this structure for every bullet:
[Action verb] + [what you did] + [measurable result]
A few filled-in examples across different roles:
- "Redesigned the onboarding email sequence, cutting time-to-first-purchase by 25% across 3,000+ new users." (marketing)
- "Negotiated renewal terms with 40+ enterprise accounts, retaining 95% of at-risk revenue over two quarters." (sales/account management)
- "Automated the weekly reporting process, reducing a 6-hour manual task to 20 minutes." (operations)
When you don't have a clean number, use scope instead: team size, budget, client count, or time saved all still count as evidence. "Coordinated a cross-functional team of 12 across three time zones" is a legitimate accomplishment even without a percentage attached to it.
3. Match keywords to the role you want next
LinkedIn's search rewards keyword consistency across your profile. If your headline says "Content Marketing Manager," make sure that phrase, or close variants of it, shows up in your Experience descriptions too. Consistency here is what makes you findable, since LinkedIn's search weighs how often a term appears across your whole profile, not just in one field.
A practical way to check this: search for the job title you want next, open three or four profiles that show up, and note which phrases repeat across all of them. Those are almost certainly the terms recruiters are searching for.
4. Back it up with certifications where relevant
If a role required or built on a specific credential, mention it directly in the description. If you haven't added that credential to your profile yet, here's how to add certifications on LinkedIn. Doing both reinforces the same claim in two places on your profile instead of just one.
5. Attach proof, don't just describe it
Presentations, case studies, or project links attached to an entry do more than a paragraph ever will, because they let a visitor verify your claim in seconds instead of taking your word for it. If you want your best work to be seen without anyone needing to dig, pair this with a well-organized featured section so visitors see the proof twice: once in context inside the relevant role, and once again near the top of your profile.
Takeaway: every bullet should answer "so what?" before the reader has to ask it.
Writing Your Experience Section at Different Career Stages
The advice above applies broadly, but how much weight to put on this section shifts depending on where you are.
If you're early in your career or applying for your first role, you may not have much traditional work experience yet. That's fine. class projects, internships, freelance gigs, and even significant volunteer roles belong here if they demonstrate real, applied skills. Focus less on titles and more on what you actually did and what you learned from doing it.
If you're changing careers, use your descriptions to translate old experience into language your new field understands. A former teacher moving into corporate training, for example, can reframe "classroom management" as "stakeholder communication and audience engagement," since that's closer to how the new industry talks about the same underlying skill.
If you're a senior professional or executive, resist the urge to list every responsibility from every year. Prioritize scope (budget size, team size, org-wide initiatives you led) and strategic outcomes over day-to-day tasks. At this stage, recruiters are scanning for leadership evidence, not a full audit trail of your career.
How Many Roles Should You List?
Not every job you've ever had needs a full write-up. As a rule of thumb, give full treatment (description, bullets, media) to roles from the last 10 to 15 years that are relevant to where you're headed next. Older or unrelated roles can be shortened to a single line, just enough to keep your timeline complete without diluting attention away from the entries that actually matter.
Before & After Examples
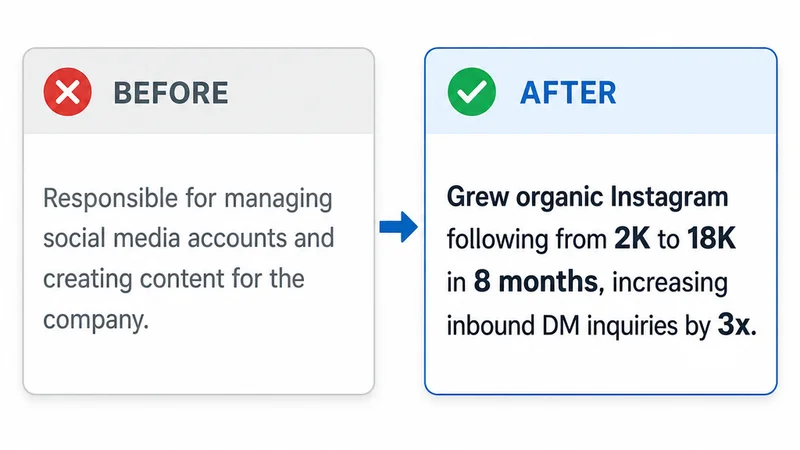
Marketing: Before: "Responsible for managing social media accounts and creating content for the company." After: "Grew organic Instagram following from 2K to 18K in 8 months by shifting to a short-form video strategy, increasing inbound DM inquiries by 3x without any ad spend."
Sales: Before: "Responsible for managing client accounts and closing new business." After: "Closed $1.2M in new annual contract value across 30 mid-market accounts, exceeding quota by 22% for four consecutive quarters."
Customer Support: Before: "Handled customer inquiries and resolved support tickets." After: "Resolved an average of 45 tickets per day while maintaining a 98% customer satisfaction score, and built a macro library that cut average response time by 30%."
Operations: Before: "Managed logistics and coordinated with vendors." After: "Renegotiated contracts with 8 shipping vendors, cutting fulfillment costs by 14% while maintaining a 99% on-time delivery rate."
Notice the pattern across all four: the "before" version describes a category of work, and the "after" version proves a specific outcome inside that category. That shift, from category to outcome, is the entire difference between an entry that gets skimmed and one that gets remembered.
Common Mistakes to Avoid
Generic duty lists with no outcomes attached. A description that only says what you were assigned to do, without ever saying what happened as a result, gives a reader nothing to remember you by.
Skipping keywords recruiters actually search for. If your description never uses the terms someone would type into LinkedIn's search bar to find a person like you, you're relying entirely on your headline and title to be found, which is a much smaller net.
Wall-of-text descriptions with no structure. A dense paragraph with no line breaks or bullets gets skimmed, not read. Break accomplishments into short bullets so the strongest lines aren't buried in the middle of a paragraph.
Stale entries left untouched after a promotion or role change. An outdated title or missing recent accomplishment signals a profile nobody is maintaining, which undercuts the credibility of everything else on it.
No company logo, usually because the employer name wasn't typed exactly as it appears on LinkedIn and the autocomplete suggestion was never selected. It's a small detail, but a row of missing logos looks noticeably less polished than a row of real ones.
Conclusion
Your Experience section is where LinkedIn's algorithm and human readers both look for proof, not job titles, results. Rewrite your weakest entry using the action-plus-result formula above, add a company logo where you're missing one, and revisit it every time something changes. If you want help turning a career update into a post instead of just a profile edit, Draftly can help you draft it in minutes.