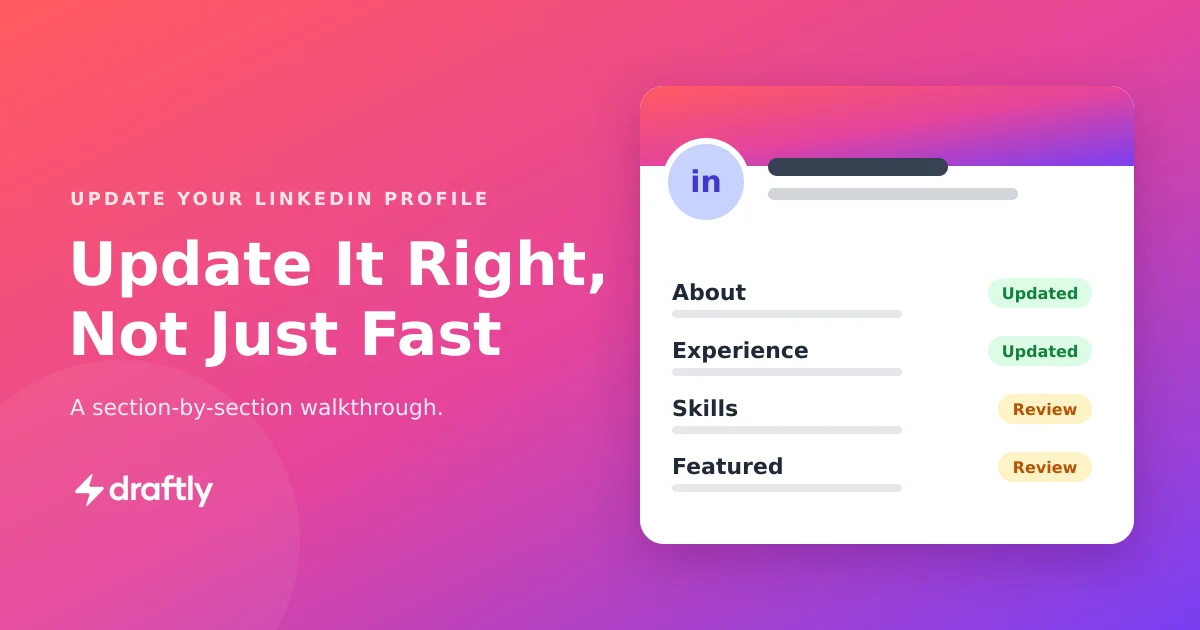
Most guides to updating your LinkedIn profile just point you to the pencil icon and call it done. That's the easy part. The part nobody explains well is what happens after you click save: your connections get a notification, your photo and headline stop working together instead of as a team, and if you're mid-job-search, an unplanned update can tip off exactly the people you'd rather not tip off yet. This walkthrough covers all three: where to actually make the edits, how the highest-impact sections work together, and how to control what happens when you hit save.
A profile that hasn't changed in two years still turns up in search, it just stops doing much once someone actually lands on it. A headline describing a role you left last spring, an About section that never mentions the project you're proudest of, these are small mismatches, but they're the kind a recruiter or a potential client notices before a conversation ever starts. None of this requires a big overhaul. It just means knowing where each section actually lives, and making one decision before you touch any of them.
Before You Touch Anything: Decide If This Update Should Be Loud or Quiet
This is the one step almost every other guide skips, and it's worth doing first because it changes how you approach everything else. LinkedIn treats most profile edits as an activity update by default, meaning a save to your headline, About section, or experience can generate a notification to your network. That's great if you want the visibility. It's a problem if you're updating quietly, say, before a job search is public, or you just don't want ten small edits cluttering everyone's feed while you get a section right.
Here's the fix, and it takes about ten seconds: open Settings & Privacy from your profile photo menu, go to Visibility, and find Share profile updates with your network. Switch it off before you start editing, make all your changes, then switch it back on once you're done. Nobody sees a thing in between.
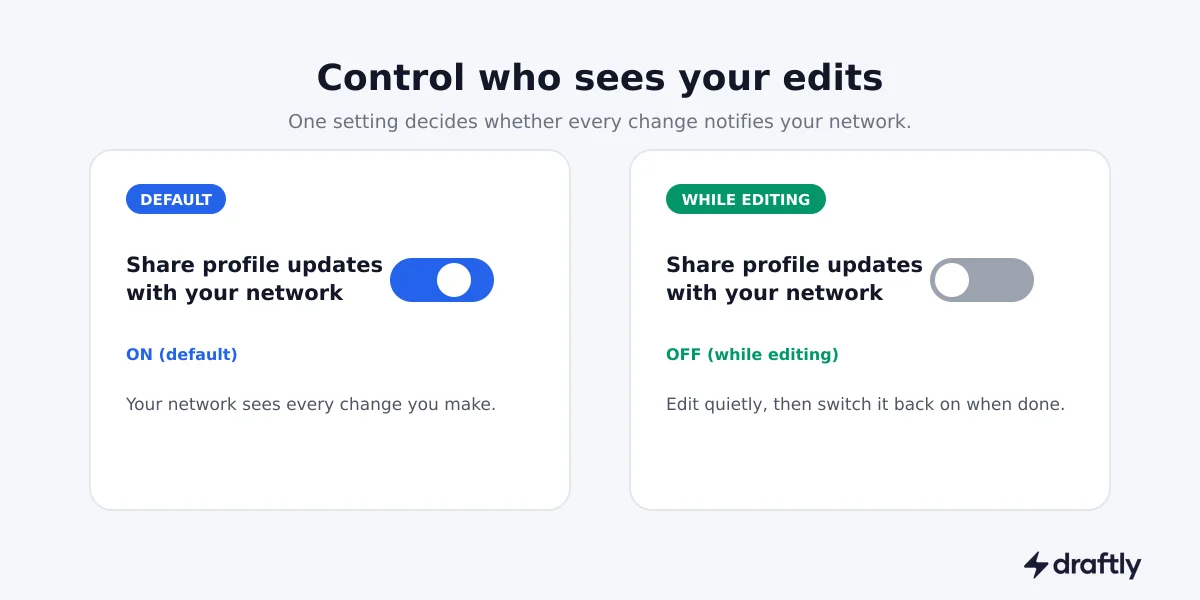
It's worth calling out because it's genuinely rare advice. Most of what ranks for this keyword, LinkedIn's own Help pages, YouTube walkthroughs, Reddit threads, focuses entirely on where the edit buttons are and never mentions this setting at all. It's a ten-second step that solves the single most common worry people have about updating their profile.
Photo, Headline, and Banner Work as a Team
Before getting into the full section-by-section list, it's worth pausing on three fields specifically, because they don't work in isolation the way the rest of the profile does. Your photo, headline, and banner are the only three things visible before anyone clicks into your profile at all: in search results, in connection requests, in comments. If one of the three is off, weak photo, generic headline, default blue banner, the other two have to work harder to compensate.
The photo carries more weight than most people assume. A clear, front-facing, approachable headshot measurably outperforms a cropped group photo or an old conference badge shot, profiles with a professional photo see meaningfully more views and connection acceptance than those without one. The banner is the most commonly wasted piece of real estate on the whole profile, LinkedIn's default blue-and-white pattern is still the most common banner on the platform, which means simply replacing it with anything intentional already sets a profile apart.
Treat these three as one editing pass rather than three separate tasks. A strong headline paired with a default banner and a dated photo still reads as unfinished. Updating all three together, even briefly, tends to move the needle more than perfecting any single one of them in isolation.
Section-by-Section: Where Everything Actually Lives
With the notification setting handled and the top-of-profile trio in mind, here's where to find and edit each part of your profile. Desktop steps are listed first, with mobile differences noted where they matter.
Photo and banner
- Click your current profile photo (or the camera icon on mobile).
- Upload a new image, then drag to reposition and crop before saving.
- For the banner, click the pencil icon on the banner strip itself, just above your photo.
Match your banner's dimensions to LinkedIn's current spec so it doesn't get cropped oddly on mobile. It's worth double-checking the current numbers before you upload something new, since LinkedIn has changed them before.
Headline
- Click the pencil icon in the Intro card at the top of your profile.
- Edit the Headline field directly, it's separate from your current job title, so you can customize it.
- Save. This one doesn't require opening a separate section.
Your headline is one of the highest-leverage 220 characters on the whole profile, since it's what shows up in search results and connection requests before anyone clicks through. A handful of proven headline formulas by role beats starting from "Job Title at Company" and staring at a blank field.
About section
- Scroll to the About section and click the pencil icon in its top-right corner.
- Edit the text box directly. You get up to 2,600 characters, and only the first 2 to 3 lines show before "see more," so front-load the part you want everyone to actually read.
- Save.
This is the section people update least often and probably should update most. If your About still describes a role you left two jobs ago, that mismatch is more noticeable to a recruiter than an outdated headline. Writing a LinkedIn summary that actually holds up over time is a different task than refreshing a line or two, worth treating as its own project if you're rewriting from scratch.
Experience
- Scroll to Experience and click the "+" icon to add a new role, or the pencil icon on an existing entry to edit it.
- If you're adding a promotion within the same company, use "Add position" under that company's existing entry rather than creating a separate one, it keeps your tenure looking continuous instead of like two different jobs.
- Close out your previous role with an end date and switch its description to past tense before adding the new one.
The promotion-versus-new-role decision trips a lot of people up here, along with exactly which fields to fill in first, adding a promotion the right way is worth a closer look on its own, since the mechanics differ from a first-time entry.
Skills
- Scroll to Skills and click "Add skill," or the pencil icon to reorder and remove existing ones.
- You can list up to 50, but only your top 3 display prominently, so put your most specific, most-searched skills there rather than broad ones like "Leadership."
- Endorsed skills carry more weight in search than unendorsed ones sitting at zero, so it's worth asking a couple of colleagues to endorse your top picks.
If you're not sure which specific terms actually get searched for in your field, the keywords that carry the most weight across a LinkedIn profile aren't always the obvious ones, skills included.
Featured
- If you don't have a Featured section yet, click the "+" icon in your Intro card and select "Featured" from the dropdown.
- Add a post, article, link, or media file. Pin the two or three things that best represent current work, not everything you've ever published.
- Remove anything outdated the same way, click the pencil icon and delete individual items.
This is also where a lot of an update session's value hides, LinkedIn actually gives you several places beyond Featured to attach real work, not just this one section. The full range of surfaces a portfolio can live across is worth exploring if you're doing a deeper refresh rather than a quick touch-up.
Contact info, custom URL, and settings
- Contact info: click "Contact info" just under your name in the Intro card. Update your email, phone, or website links here, this is a separate field from your About section, so changing your job title elsewhere won't touch it.
- Custom URL: from the same Contact info panel, click the pencil icon next to your public profile URL to swap the default string of numbers for something clean like linkedin.com/in/yourname.
- Settings & Privacy: worth a look two or three times a year, since LinkedIn adjusts these options periodically and it's easy to miss a new one.
A Realistic Update Cadence
You don't need to touch every section every month. Think of it less like a single event and more like the difference between routine car maintenance and a full tune-up: small, regular check-ins that take a few minutes, and bigger overhauls that happen a few times a year or whenever your career actually shifts.
- Weekly (optional, light touch): share or comment on something relevant. This isn't a profile edit exactly, but it keeps a profile looking active rather than dormant, which matters more than any single field.
- Monthly: a five-minute skim of your About section and Skills. Finished a project worth mentioning? Add it. Picked up a new tool? Add the skill. Small, incremental, not a rewrite.
- Every quarter: a proper look at Featured, and a check that your top 3 skills still match what you actually want to be found for.
- Immediately: any new job, promotion, or title change. This is the one category that shouldn't wait for a scheduled check-in.
- Once or twice a year: photo and banner refresh, a full reread of About for accuracy, and a pass through Settings & Privacy.
The version of this that actually survives past the first attempt is the one where the small monthly check-ins happen consistently, not the one where someone plans an ambitious quarterly overhaul and never gets to it.
Conclusion
Updating a LinkedIn profile well is less about knowing where every pencil icon lives and more about two habits: deciding upfront whether an update should be visible to your network, and treating your photo, headline, and banner as one first impression rather than three separate chores. Everything else, About, Experience, Skills, Featured, is a matter of finding the right section and giving it the attention it's due on a cadence you'll actually keep.
Every section covered here is really just one piece of a larger LinkedIn profile optimization strategy. This guide is the where and how; that guide is the why behind which sections matter most and in what order to prioritize them if you're starting from scratch.