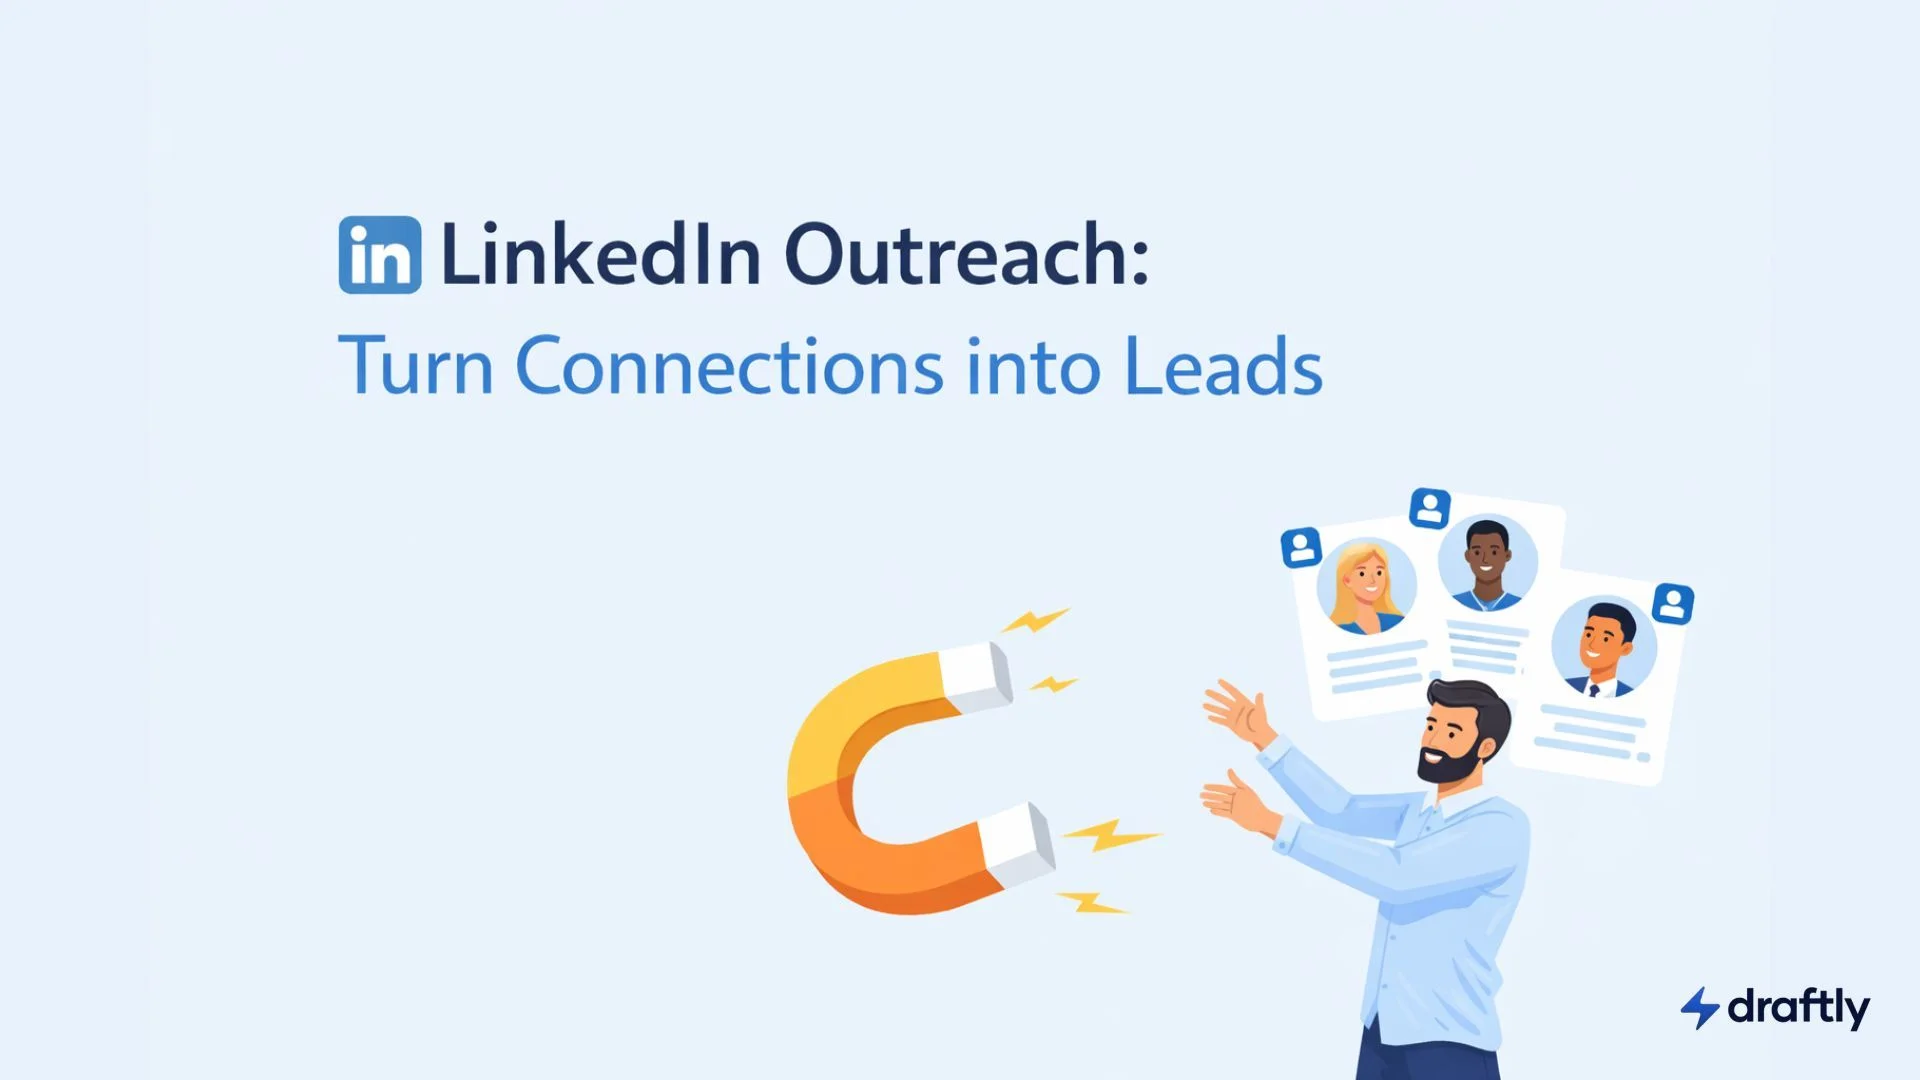
If you've only been using LinkedIn for quick posts and connection requests, you're leaving a lot on the table. Right below the "Start a post" box, there's a button most people scroll past: Write article. Click it, and you're in LinkedIn's long-form editor, a completely different beast from the standard post box.
Articles work differently from posts in one important way: they get indexed by Google. That means someone searching "how to handle client objections" or "best practices for B2B outreach" could land on your LinkedIn article without ever being in your network. That's not something a post can do for you.
This guide covers how to post an article on LinkedIn from start to finish, including the SEO settings that almost nobody fills in (and that make a real difference to whether your article ever gets found).
LinkedIn Article vs. Post: Know What You're Working With
A lot of people use posts and articles interchangeably. They're not the same thing.
A LinkedIn post gives you up to 3,000 characters. It shows up in your network's feed for a day or two, gets some engagement, and then quietly disappears. Perfect for sharing a quick opinion, a win, or a conversation starter.
A LinkedIn article is a different animal. You've got up to 125,000 characters to work with, roughly the length of a short book. It has its own permanent URL, sits on your profile under the "Articles" section forever, and search engines can crawl and index it. You can also add a proper cover image, format the body with headings and embedded media, and even configure SEO metadata.
How to Post an Article on LinkedIn: Step by Step
Step 1: Open the Article Editor

Head to your LinkedIn home feed. Just below the "Start a post" box, you'll see a few quick-action icons. Click the one that says "Write article."
This takes you into the article editor, a dedicated full-page writing space that's completely separate from the standard post box. It looks a bit like a simplified blogging platform.
Step 2: Add Your Cover Image
Right at the top of the editor, there's a large image placeholder waiting for you. Click it and upload your cover image. LinkedIn recommends 1200 x 644 pixels so it looks good across both desktop and mobile.
Don't overthink the image, but don't skip it either. It's the first thing people see when your article surfaces in the feed or on your profile.
Step 3: Write Your Headline
Below the cover image is the headline field, which shows up as your article title everywhere: your profile, the feed, search results. Aim for something specific and under 60-70 characters so it doesn't get cut off.
One trick worth trying: write your headline after you've finished the article. Once you've written the whole thing, it's much easier to figure out what it's actually about.
Step 4: Write and Format the Body
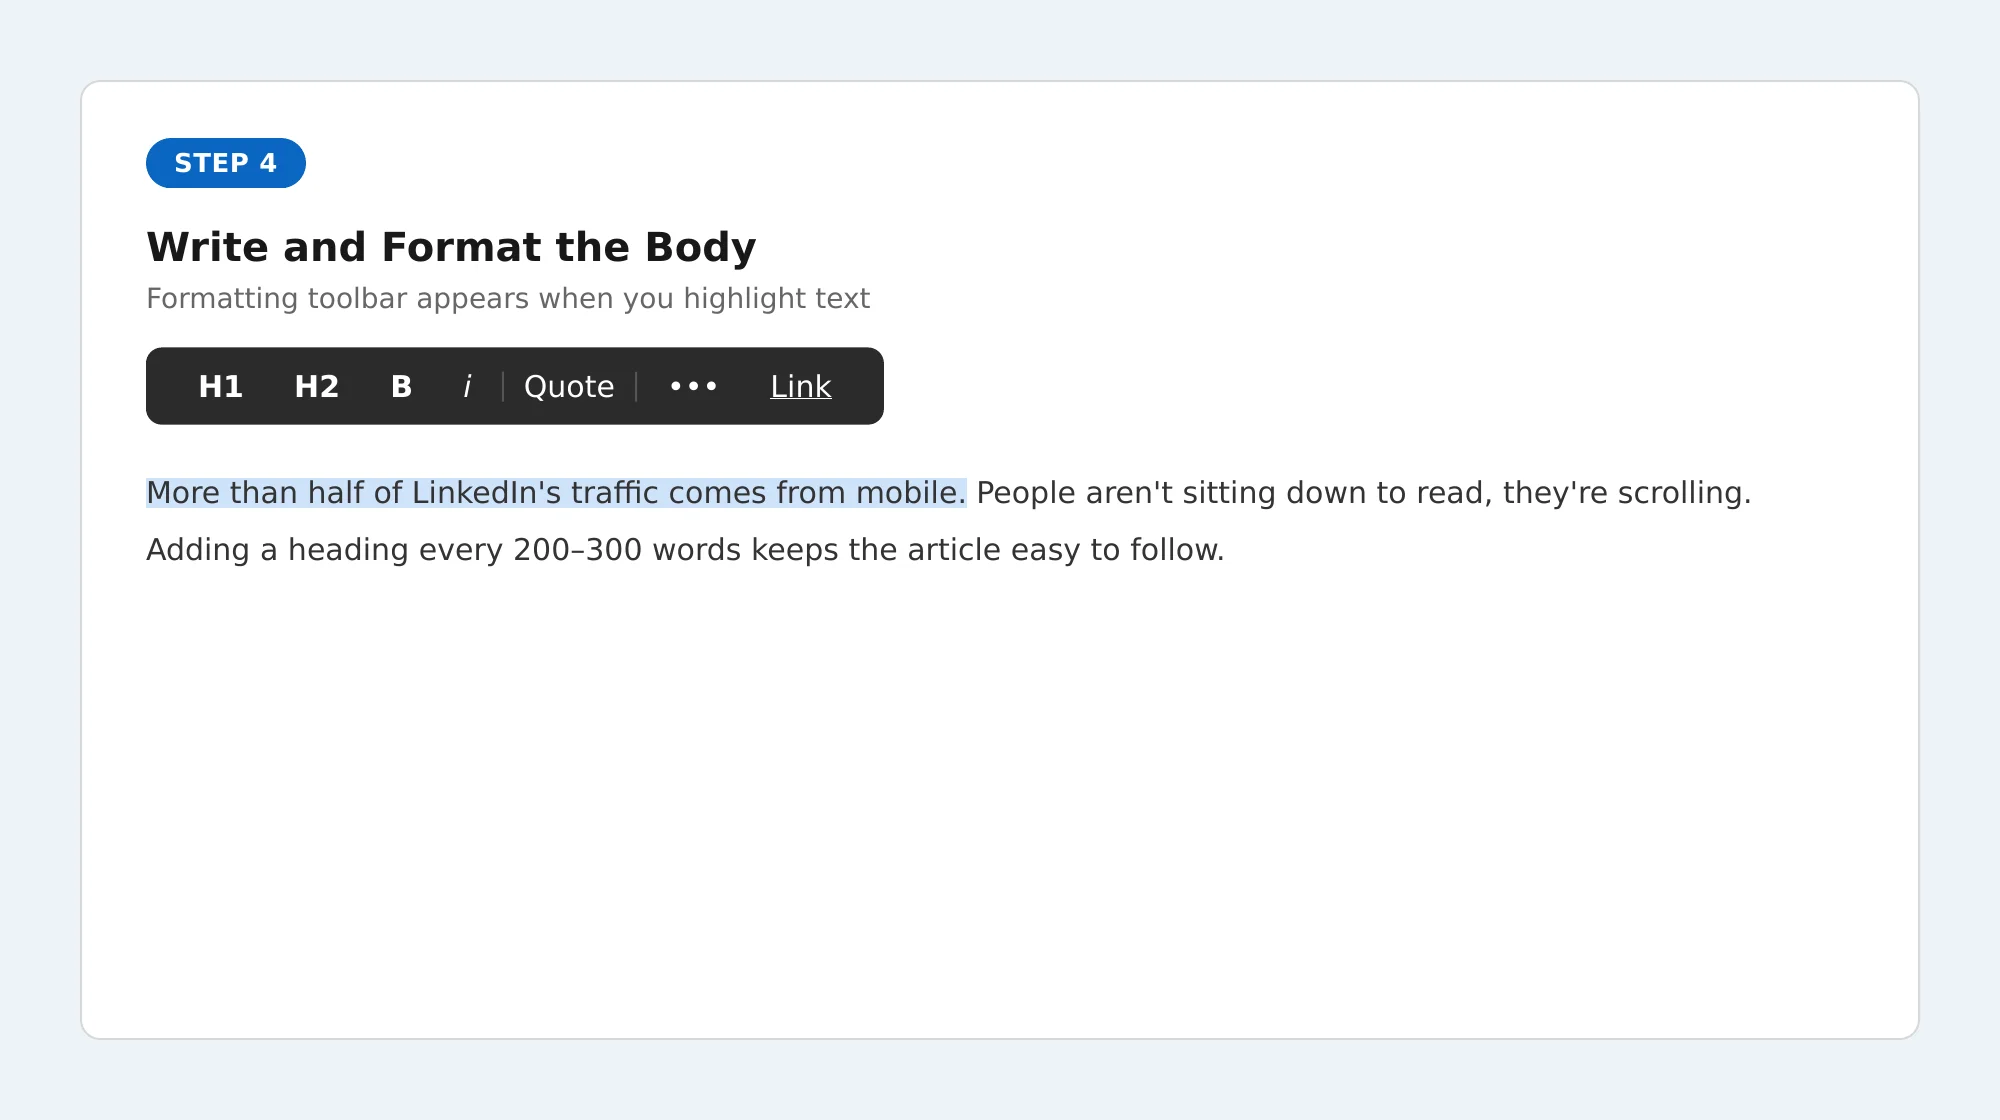
Click below the headline and start writing. You can type directly in the editor or paste from a Word doc or Google Doc. If you paste, expect to do some cleanup since heading styles and spacing don't always carry over the way you'd expect.
A formatting toolbar pops up whenever you highlight text. The tools you'll use most:
Headings (H1, H2) to break your article into sections that people can skim.
Bold for key terms or anything you want to stand out.
Blockquotes to pull out a strong statement or insight.
Lists for steps or grouped points, but don't overdo it.
Hyperlinks to link text instead of dropping raw URLs into the body.
One thing worth knowing: more than half of LinkedIn's traffic comes from mobile. People aren't sitting down to read, they're scrolling. Adding a heading every 200-300 words keeps the article from looking like a wall of text and makes it much easier to follow on a small screen.
Step 5: Add Images and Other Media
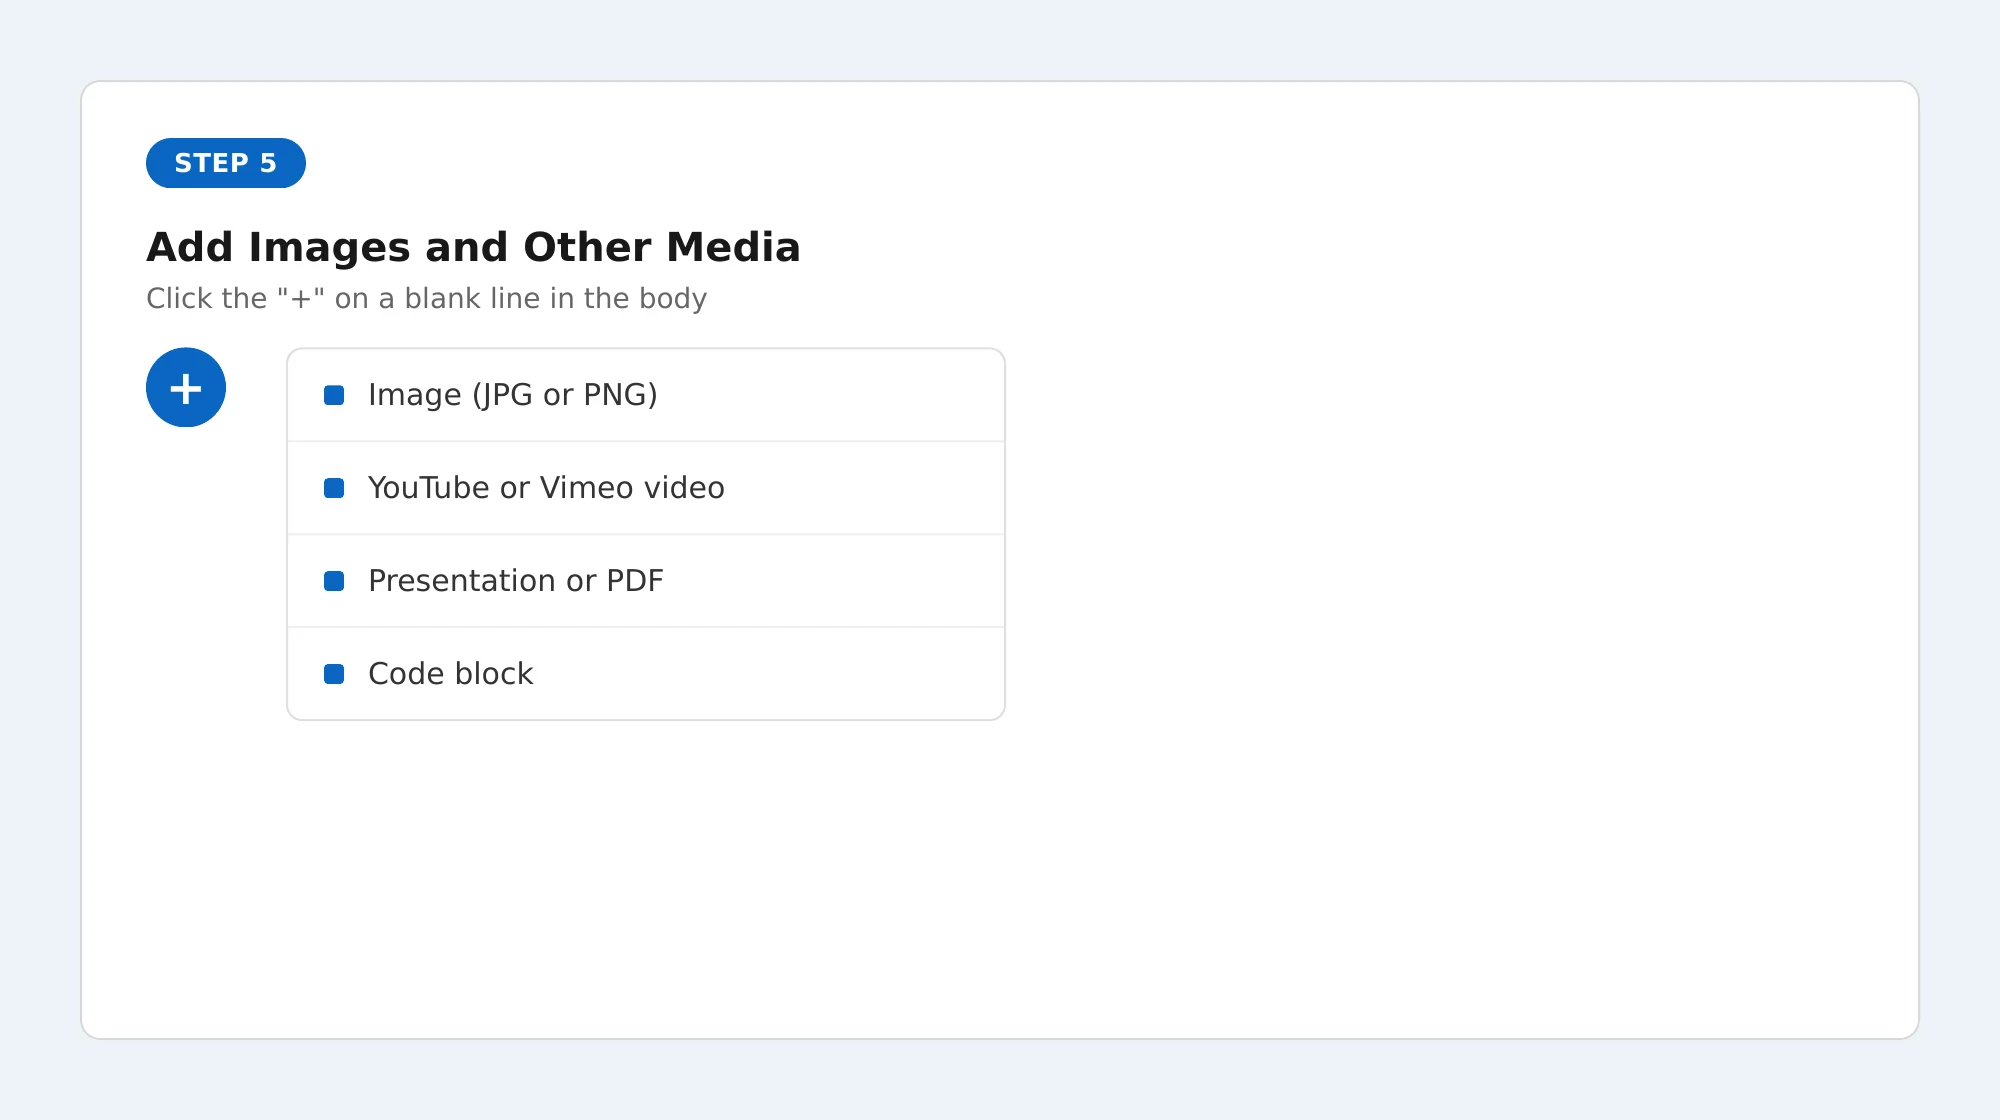
You can embed media anywhere in the body of your article, not just at the top. To do it, click on a new blank line and look for the small "+" icon that appears on the left. That opens a menu where you can add:
Images (JPG or PNG).
YouTube or Vimeo videos.
Presentations or PDFs.
Code blocks (handy for technical content).
Try to include at least one image every 400-500 words. Visuals break up the reading experience and keep people from dropping off halfway through. Articles with images consistently outperform text-only ones, and LinkedIn's own data puts the engagement difference at around 2x.
Step 6: Fill In the SEO Settings (Don't Skip This)
This is the step that almost nobody does, and it's probably the most important one if you want your article to be found outside LinkedIn.
Before you hit publish, click the "Manage" tab at the top of the editor. You'll see three fields:
Custom URL slug: By default, LinkedIn generates a random URL. Change it to something readable and keyword-relevant, like how-to-post-article-linkedin. It's a small thing that helps a lot.
SEO title: Up to 60 characters. This is what shows up in Google search results instead of your article headline. Write it the way you'd write a page title: keyword first, clear benefit.
SEO description: Up to 160 characters. This is your meta description, the two lines of text people see under your title in Google. Make it compelling, not just descriptive.
According to LinkedIn's Help Center, these fields exist specifically to control how your article appears in external search results. Most people leave all three blank. Fill them in, and you're already ahead of the majority of LinkedIn publishers.
Step 7: Publish or Schedule
When you're happy with the article, click "Next" in the top right corner. LinkedIn shows you a preview of how it'll look as a feed post.
Here's where you:
Write a short intro (2-4 sentences) to go alongside the link in the feed.
Add 3-5 relevant hashtags to help LinkedIn show your article to people who follow those topics, even if they're not connected to you.
Choose to publish immediately or schedule it for a specific date and time.
When you're ready, hit "Publish." Your article is live.
What Actually Makes a LinkedIn Article Work
Getting published is one thing. Getting read is another. A few things separate articles that get traction from ones that quietly collect dust.
Your headline carries more weight than you think
Nobody clicks on vague. "Thoughts on B2B Sales" gets ignored. "Why Cold Emails with 3 Lines Outperform Long Pitches (With Examples)" gets clicked. Specific beats clever, every time.
Numbers, questions, and "how to" framing work well. What doesn't work: being cute at the expense of being clear. A reader should know within three seconds what they're getting from your article.
You have two or three lines to convince someone to keep reading
LinkedIn cuts off your article preview after the first few lines in the feed. Those opening sentences need to earn the click. Don't warm up with background. Lead with the interesting part: a surprising stat, a bold claim, or the exact problem your article solves. Get to the point fast.
1,500 to 2,000 words is your sweet spot
That's roughly an 8-minute read. Long enough to actually say something substantive, short enough that people finish it. Articles under 1,000 words often feel like they could have been a post. Articles over 5,000 words start losing people unless the topic genuinely demands that depth.
Hashtags belong in the intro post, not the article body
Add 3-5 hashtags when you're setting up the feed post before publishing, not scattered through the article itself. They help LinkedIn categorize your content and surface it to people following those topics. More than five starts to look spammy and dilutes relevance.
Stay near your phone for the first hour or two after publishing
The LinkedIn algorithm pays close attention to early engagement. If your article gets comments in the first hour and you respond to them quickly, that activity pushes the article to more people. Publish when you have time to be present, not when you're about to go into a meeting.
Promoting Your Article After It Goes Live
Most people publish an article, share the link once, and move on. That's leaving most of the potential reach on the table.
Your article has about a 48-hour window of peak visibility in the feed. Use it intentionally.
Write a separate post to promote it. Don't just paste the link. Pull out one insight from the article (a counterintuitive point, a useful stat, a question the article answers) and write a short post around that. Give people a reason to engage with the post itself before they even click. If you're not sure how to frame it, Draftly's free LinkedIn post generator can help you turn a key takeaway from your article into a post worth sharing.
Share it in relevant LinkedIn Groups. Don't drop the link and disappear. Write a short note explaining why it's relevant to that group specifically. Something like, "I wrote this after getting the same question from three different clients, thought it might be useful here." Context makes a difference.
Send a few personal DMs. Think of 5-10 people in your network for whom this article is genuinely relevant. A quick message ("Thought of you when I wrote this, curious what you think") gets read. A mass announcement rarely does.
Stretch it across the week. One article can become four or five posts: a quote, a data point, a "what I got wrong initially," a follow-up question. Each one brings fresh eyes back to the original.
Doing this consistently is easier when you have a content plan behind it. The LinkedIn content creation guide walks through how to build one around your articles.
Check What's Working with LinkedIn Analytics
Once your article is published, you can see how it's performing any time. Go to your profile, find the article under your "Articles" section, and click through to the analytics view.
You'll see total views, reactions, comments, and follower demographics: what job titles your readers have, which industries they're from, where they're based. That last piece is surprisingly valuable. It tells you who's actually paying attention, which is often different from who you think you're writing for.
Articles that perform well almost always suggest a follow-up. When one piece gets more engagement than usual, write the next one on the angle readers responded to most. That's how you build an audience instead of just an archive.
For more on how to use performance data to improve what you publish, LinkedIn post optimization using AI walks through some practical approaches.
Wrapping Up
LinkedIn articles are one of those things that feel like more work upfront, because they are. But they compound in a way posts don't. A good article can bring in readers six months from now, from Google, from people who've never heard of you.
The actual publishing process is easy once you know where things are. What makes the difference is the SEO settings most people skip, promoting the article properly after it goes live, and showing up consistently enough that people start to associate your name with a specific kind of insight.
Start with one. See what lands. Keep going from there.
If you want help staying consistent, drafting faster, scheduling ahead, and tracking what works, Draftly's LinkedIn content platform is built specifically for that.